Workspace Settings
Learn how to manage your Workspace configuration in JIVIQ, find your chat links, configure AI responder defaults, and understand the difference between Workspace and Organization settings.
Workspace settings allow account owners and administrators to fine-tune each customer-facing entry point. From updating your brand name to choosing who answers visitors first, everything is organized under your settings menu. Learn more about JIVIQ on the official homepage.
Where to Find Workspace Settings
Follow these simple steps to access your Workspace configuration:
Log in to your account at app.jiviq.com.
Click the Settings gear icon located at the bottom of the left sidebar.
Choose Workspaces to view and edit your active workspaces, chat links, and AI defaults.
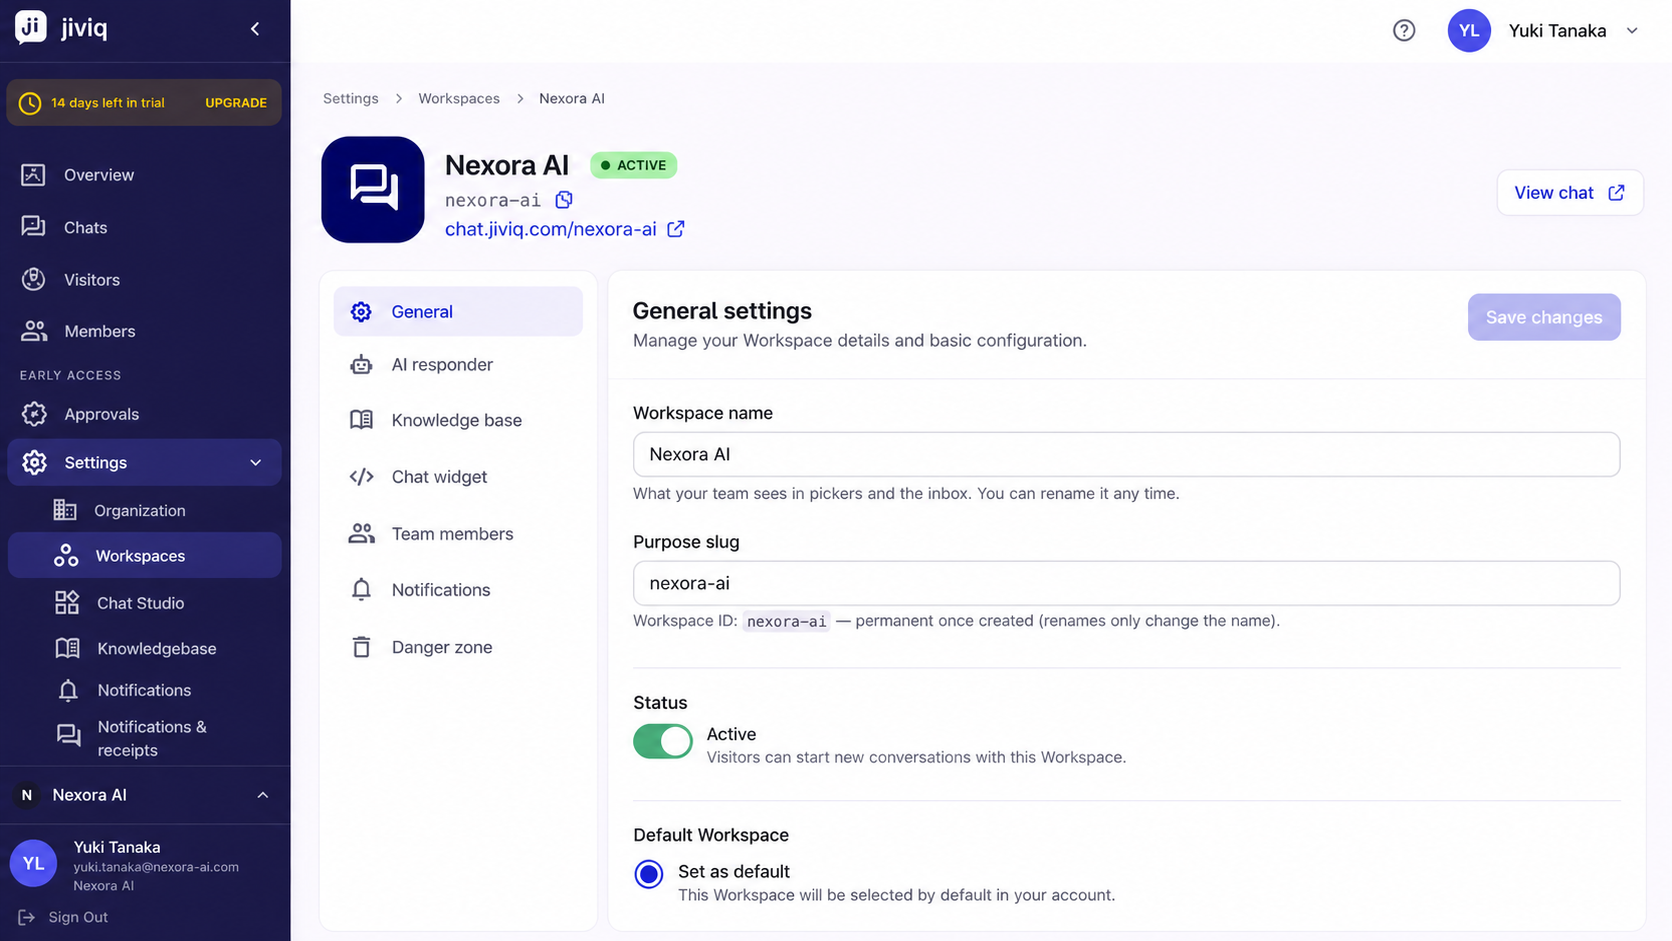
Workspace-Level Configuration
Inside your Workspace settings, each workspace contains its own set of dedicated controls:
Workspace Name
The display name associated with this workspace. Visitors see this name on your chat widget, and you can edit it anytime.
Chat Link
Your unique standalone chat link that can be shared in emails and direct messages.
Widget Code
The single-line JavaScript snippet used to embed the live chat widget on your website.
AI Responder Setting
Controls whether AI answers visitors directly (Autopilot), creates drafts for your team (Copilot), or stays Off.
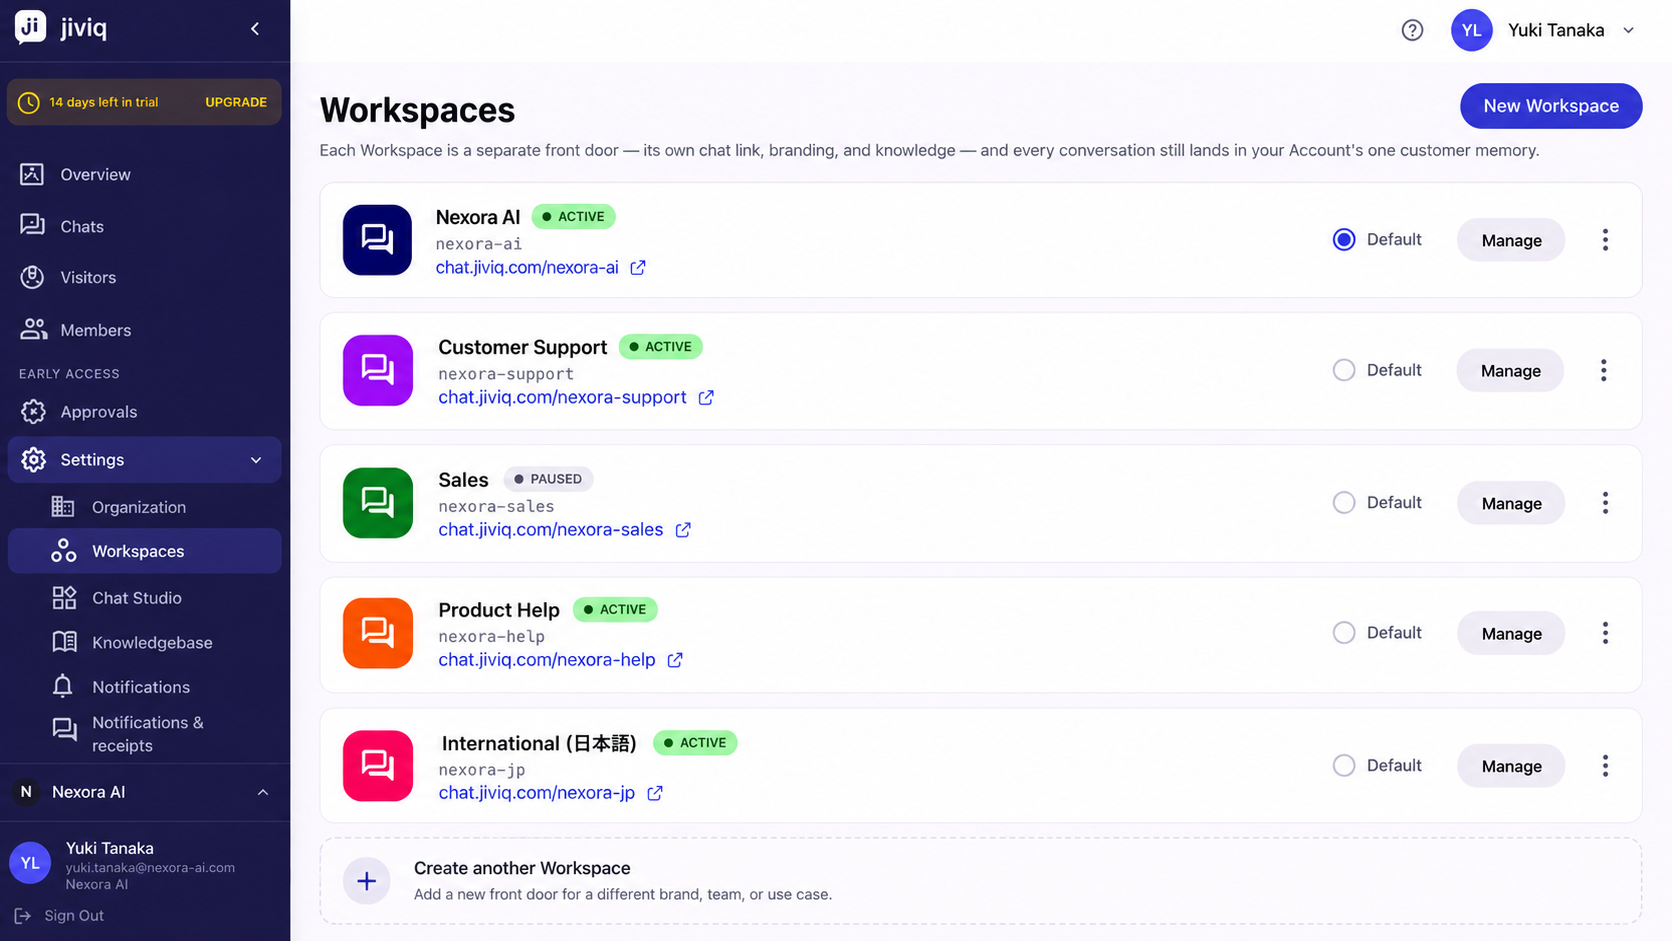
Business Timezone and Organization Settings
It is important to clearly distinguish between Workspace settings and Organization settings:
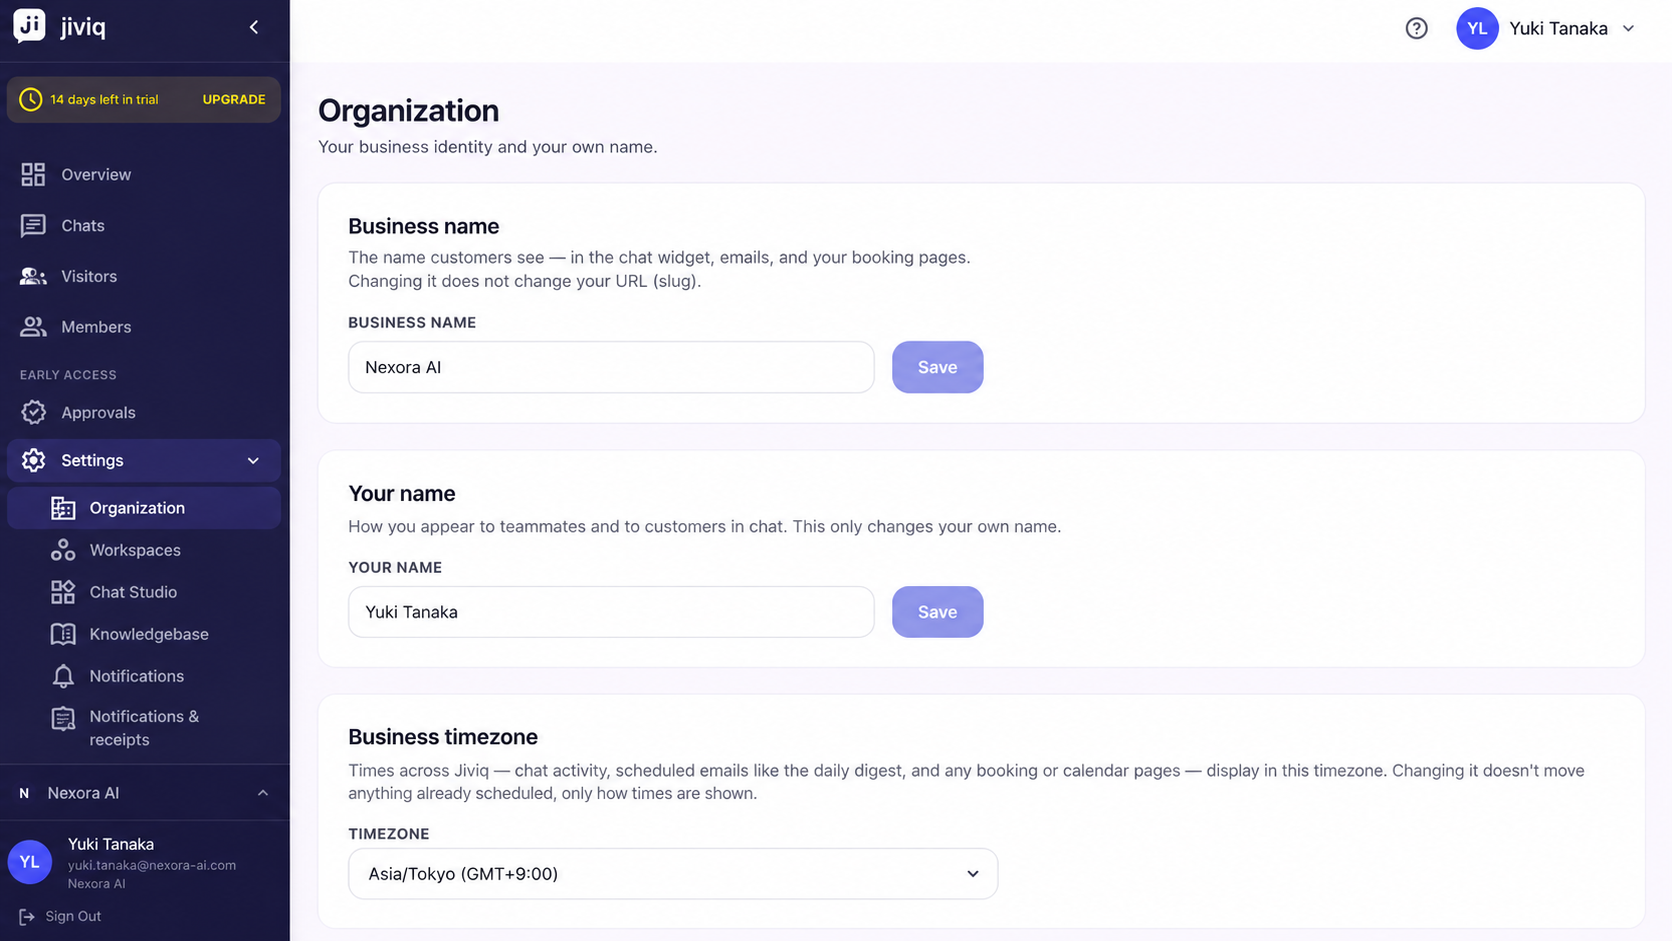
AI Responder Setting
The AI responder setting dictates how customer inquiries are handled when a visitor initiates a chat. JIVIQ provides three official modes:
Autopilot
AI answers visitors directly 24/7 using your Knowledge Base facts and self-verifies responses before sending.
Copilot (Default)
AI automatically prepares draft answers, but your human team reviews, edits, and sends every message.
Off
Humans only. The AI neither replies nor drafts messages, leaving customer conversations entirely to your team.
For in-depth explanations and response rules, review our dedicated AI Responder Settings guide and our decision comparison in Choosing Your AI Mode.
Frequently Asked Questions
Browse questions by category to learn all about Workspace and Organization settings:
You can find your Workspace settings by opening the JIVIQ admin app and navigating to Settings → Workspaces in the left navigation sidebar.
Workspace settings control customer-facing channels, widget code, knowledge bases, and AI modes for a specific workspace. Organization settings control company-wide configurations, such as your business timezone and billing.
Yes. Adjustments made to your Workspace name, widget appearance, or AI responder mode update in real time without requiring a server restart or script reinstallation.
Navigate to Settings → Workspaces, click on the workspace you wish to edit, update the Workspace Name field, and save your changes.
Inside your Workspace general settings under Settings → Workspaces, you will find your dedicated standalone chat link and your embeddable JavaScript snippet.
Owners and admins can manage active workspaces from the Workspaces overview. If you only operate one workspace, you cannot delete your sole active workspace.
Business timezone is an Organization-level setting located under Settings → Organization. JIVIQ automatically detects your browser timezone during registration, but owners and admins can update it anytime.
The Business Timezone ensures that conversation timestamps, operating hours, scheduled meeting slots, and AI quiet hours are accurately calculated.
The business timezone is configured globally for your organization under Settings → Organization to maintain unified scheduling and reporting across all workspaces.
Only account owners and administrators have permission to access and modify Workspace settings and Organization settings.
Teammates can view conversation channels and use the inbox, but administrative controls under Settings → Workspaces require owner or admin permissions.
Account owners can update member roles under Settings → Team Members. Follow our Add Your Team documentation at https://jiviq.com/help/add-your-team.
If you cannot see the Workspaces option in the settings sidebar, your current account role is likely a standard member rather than an owner or admin. Contact your account owner for access.
Check your Workspace AI Responder setting to confirm it is set to Autopilot or Copilot rather than Off. Review our AI Responder Settings guide at /help/workspace-setup/ai-responder-settings.
Reach out to support@jiviq.com or review our official troubleshooting guides at https://jiviq.com/help/login-troubleshooting.
Workspace Setup Sequence
Follow all four guides in the official Workspace Setup series:
Understanding Workspaces
Learn what a Workspace is, why it exists, and what components it brings together.
Workspace Settings
Configure your Workspace name, timezone, and workspace-level preferences.
AI Responder Settings
Understand Autopilot, Copilot, and Off response modes for your workspace.
Choosing Your AI Mode
A decision guide to select the right AI operating mode for your team.